Alerts

-
6 minutes, 44 seconds
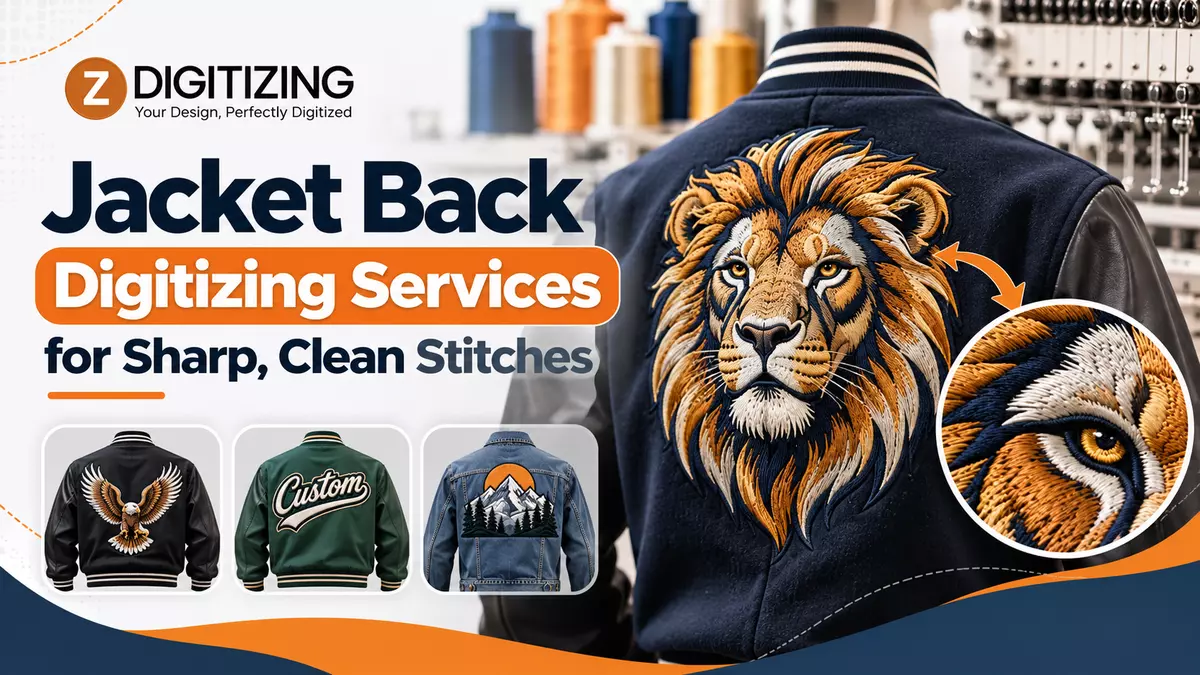
Jacket Back Digitizing Services turn a large logo or crest into a stitch file that holds its shape across a full jacket back. Big designs expose every file flaw, from gaps and puckering to outlines that drift out of register. With our Jacket back embroidery digitizing Services, we prepare your artwork for large-format stitching, so the finished back piece looks as sharp as the artwork on screen.
This guide covers what the work includes, how we prepare a back design, what to send us, and the mistakes that cause trouble on large embroidery. You will find direct answers to common questions at the end.
Jacket back digitizing services convert artwork into a machine-readable embroidery file made for the large, open area on the back of a jacket. The file tells the machine where each stitch goes, which direction it runs, how dense it is, and in what order the colors sew.
A jacket back file is not a left chest file enlarged. Scaling a small design up stretches the stitches and weakens coverage. A properly built file rebuilds the design for its final size.
In practice, the work covers:
Choosing satin, fill, and run stitches for each design element
Setting stitch direction and density for the jacket fabric
Adding underlay so large areas stay stable
Applying pull compensation to offset fabric shift
Sequencing colors to limit trims and thread changes
Exporting the right machine format, such as DST, PES, or EXP
Large designs on heavy outerwear behave differently from small designs on shirts. Four factors matter most:
Size: A back design spans a wide area, so small errors in stitch direction or density become visible.
Fabric weight: Jackets often use thick or layered materials, such as twill, nylon, fleece, or leather-like fabrics. Each one responds differently to needle penetration.
Seams and linings: Seams, zippers, and linings sit near the design area and can affect hooping and stitch quality.
Stitch volume: A large design can carry a high stitch count, which increases stress on the fabric if density is too heavy.
Because of these factors, a jacket back file needs balanced density, sturdy underlay, and a plan for how the fabric will move during stitching.
At ZDigitizing, we follow a clear process when we digitize large back designs:
Review the artwork. We check your logo for clarity, color count, and fine details that may not survive stitching at full size.
Confirm the size and placement. We plan the stitched width and height and where the design sits on the back panel.
Build the stitch map. We assign stitch types, set direction, and divide large shapes so fill areas stay smooth.
Add underlay and compensation. We stabilize the fabric and offset the pull that distorts outlines and lettering.
Sequence the colors. We order the stitching to reduce jumps, trims, and thread changes.
Export the file. We prepare the file in the format your machine reads.
This is where Jacket back embroidery digitizing Services differ from automatic conversion software. An auto-converter reads pixels. A digitizer decides how thread should cover a large area on a specific fabric.
Better source files lead to better stitch files. When you send your artwork, include:
The cleanest version of your logo, ideally a vector file such as AI, EPS, or SVG
A high-resolution PNG or JPG if no vector file exists
The stitched width and height you want
The jacket type and fabric, such as varsity wool, nylon, canvas, or fleece
Thread colors or Pantone references if color matching matters
Your machine's file format
If your logo only exists as a low-resolution image, our Vector Art Service can rebuild it first. If you need a stitch-ready version of existing artwork, we can also convert your image to an embroidery file.
Most jacket back projects use one of these approaches:
Flat embroidery suits detailed logos, lettering, and multi-color designs. It is the standard choice for most back pieces.
Applique uses fabric shapes stitched onto the jacket, which can cover large areas efficiently. Our Applique digitizing service covers the cutting lines and edge stitching.
3D puff embroidery raises bold shapes and thick lettering with foam. Our 3D Puff Embroidery Digitizing service handles that setup.
Patches can be stitched separately and applied to the jacket. Our Patch Digitizing service prepares those files.
For designs that continue onto the shoulders or arms, our Back & Sleeve Digitizing service keeps placement consistent across panels. If you are unsure which approach fits, reviewing the artwork together is the fastest way to decide.
Most failed back pieces trace back to the file. Watch for these problems:
Scaling up a small file. Stretched stitches leave gaps and thin coverage.
Excess density. Heavy stitching on a large area causes puckering, stiffness, and thread breaks.
Weak underlay. Large fills shift and ripple without stable underlay.
No pull compensation. Outlines and lettering drift out of alignment as stitches pull the fabric.
Tiny text. Small letters blur at the edges of a large design.
Poor color sequencing. Extra jumps and trims slow production and add visible stray threads.
Fixing these during digitizing costs far less than discovering them after the first jacket comes off the machine.
A simple, bold, one-color shape may need little help. Professional digitizing becomes more valuable when your project includes:
Large multi-color artwork with gradients or shading to simplify
Fine lettering or detailed illustrations
Heavy or textured fabrics
Team or club jackets that must match across every garment
A bulk order, where one file error repeats on every jacket
In these cases, jacket back digitizing services reduce test stitching and wasted garments. A well-built file lets production run smoothly instead of forcing the operator to troubleshoot at the machine. If you also need a matching design for the front, our Left Chest Logo Digitizing service keeps the full set consistent.
At ZDigitizing, we build jacket back files around the size, fabric, and technique your project needs. Clean artwork, realistic sizing, balanced density, and sturdy underlay make the biggest difference to the final result. Good Jacket Back Digitizing Services handle those details before your machine ever runs.
If you have a jacket project coming up, send us your artwork, the jacket style, and your desired size. We will review it and prepare a file that stitches cleanly.
They convert a logo or design into an embroidery file made for the large back panel of a jacket. The file sets stitch types, density, direction, underlay, and color order, so the design stitches cleanly without gaps, puckering, or distortion.
It depends on your machine. Common formats include DST, PES, EXP, and JEF. Tell us which machine you use, and we will prepare the file in a format it reads. Vector artwork helps, since cleaner source files make digitizing easier.
In many cases, yes. A low-resolution image may need cleanup or recreation first, because blurry edges lead to unclear stitching. We can rebuild it through our Vector Art Service, then digitize it at the full size your jacket needs.
Enlarging a small file stretches the stitches, which creates gaps and weak coverage. Stitch length, density, and underlay must be rebuilt for the larger size. A back design needs its own file to look as sharp as the original artwork.
Yes. We offer Applique digitizing and 3D Puff Embroidery Digitizing as separate services. Both need their own file setup, since applique requires cutting and edge-stitch planning and puff needs adjustments for foam. Send us your artwork and we will recommend what fits.


Comment