
Alerts
-
5 minutes, 8 seconds
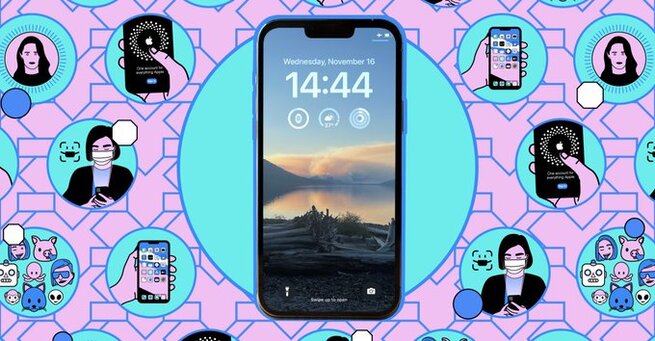
Looking to scan documents on your iPhone without any extra apps or hardware? You're not alone. Many iPhone users search for “how to scan documents on iPhone” or “best way to scan paper documents with iPhone” to quickly convert receipts, contracts, and important papers into high-quality digital files. Whether it’s for creating backups, organizing paperwork, or improving productivity, iPhones make document scanning simple and seamless.
With the built-in Notes and Files apps on your iPhone, you can scan everything from business cards and bills to multipage reports. No need for bulky flatbed scanners or expensive third-party software—your iPhone’s camera and iCloud integration have you covered. Plus, using your iPhone ensures fast, professional-quality scans that are easy to save, share, and sync across devices.
Digital backups safeguard important files from being lost or damaged. Scanning paperwork with your iPhone not only saves space but also makes it easier to organize and access files anytime, anywhere. This method also helps reduce paper clutter, turning a whole filing cabinet into a few taps on your screen. Plus, digitizing receipts, contracts, and invoices can improve business efficiency and streamline tax preparation.
Your iPhone’s built-in apps offer intuitive scanning tools that deliver crisp, clear images every time:
Open the Notes App: Create or open an existing note. Tap the paperclip icon at the bottom and select Scan Documents.
Use the Files App: Open the Files app, tap the three-dot menu (⋯) in the top-right corner, and select Scan Documents.
Frame the Document: The camera viewfinder will detect the edges automatically. In Auto mode, your iPhone will snap a picture when it aligns perfectly. To take control, switch to Manual mode and use the shutter button.
Capture Multiple Pages: After each scan, line up the next page. The app seamlessly stitches multipage documents.
Edit & Save: Once done, adjust corners, apply filters (like grayscale or black-and-white for better legibility), and save the scan directly to iCloud Drive or within your note.
Use a well-lit environment to avoid shadows.
Place the document on a contrasting background (e.g., white paper on a dark surface).
Hold your iPhone steady and parallel to the document.
Clean your iPhone camera lens for sharper images.
Try high-resolution scanning with third-party apps like Adobe Scan or CamScanner if you need advanced features like OCR (optical character recognition) or multi-language support.
Scanning documents on iPhone isn’t just for personal use. Businesses can leverage this feature to quickly digitize contracts, receipts, and invoices, reducing the risk of paper loss and improving data security. For students, scanning notes and handouts helps organize study materials, making exam prep more efficient.
The Notes and Files apps on iPhone are secure, private, and cost-free. No subscriptions or ad-filled free versions—just seamless integration with iCloud and Apple’s ecosystem. However, if you need extra features like auto-cropping, OCR, or cloud sync to Google Drive or Dropbox, apps like Scanner Pro or Microsoft Lens can elevate your document management workflow.
Your iPhone isn’t just a communication tool; it’s a powerful scanner that transforms paperwork into digital files effortlessly. Whether you need to back up critical documents, share files with colleagues, or organize your digital workspace, knowing how to scan documents with your iPhone gives you a professional edge. Start scanning today and enjoy a paperless, organized lifestyle.









Comment